Full Walkthrough
This guide walks through creating a complete proposal — from a blank slate to an exported PDF.
1. New Proposal
- Open Propongo at propongo.org.
- Click New Proposal.
- Enter a title (e.g., "Riparian Restoration — Smith Creek") and click Create.
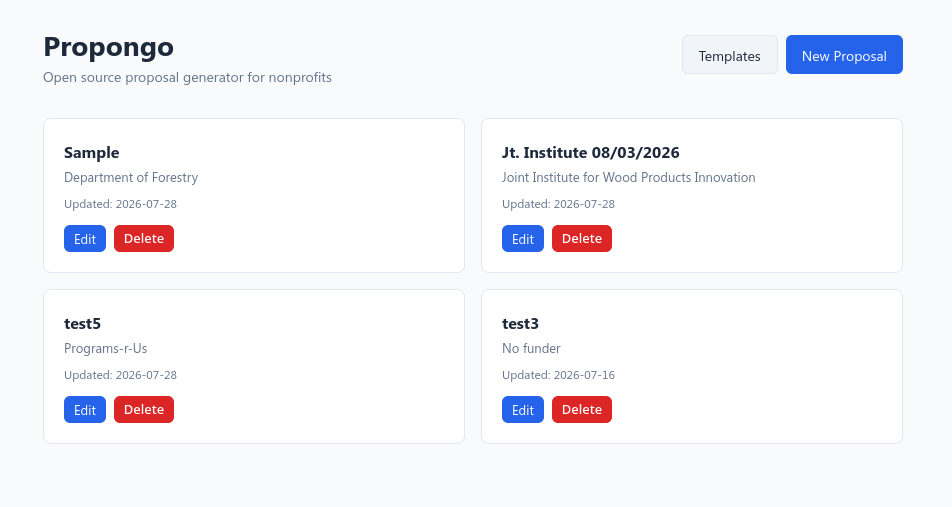
You are taken to the editor with six tabs: Scope, Budget, Qualifications, Timeline, Custom Sections, and Preview.
2. Scope of Work
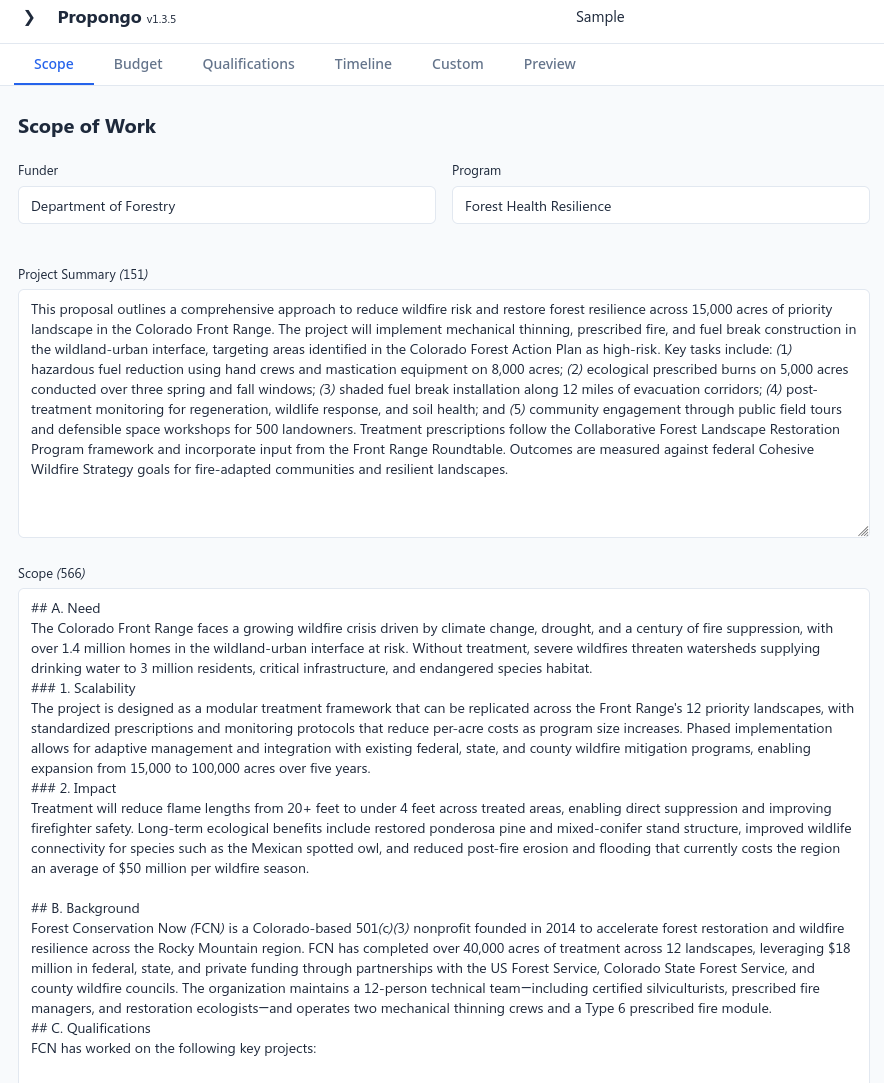
The Scope tab allows you to define the project summary and deliverables.
- Funder / Program — Enter the client or funding program name.
- Project Summary — Write a short Markdown description of the project.
- Scope — Describe the work to be done in detail.
- Tasks / Deliverables — Click Add Task and give each task a name and description. These tasks will be referenced in the Budget and Timeline tabs.
Markdown
Markdown is supported in the summary, scope, and task description fields.
3. Budget
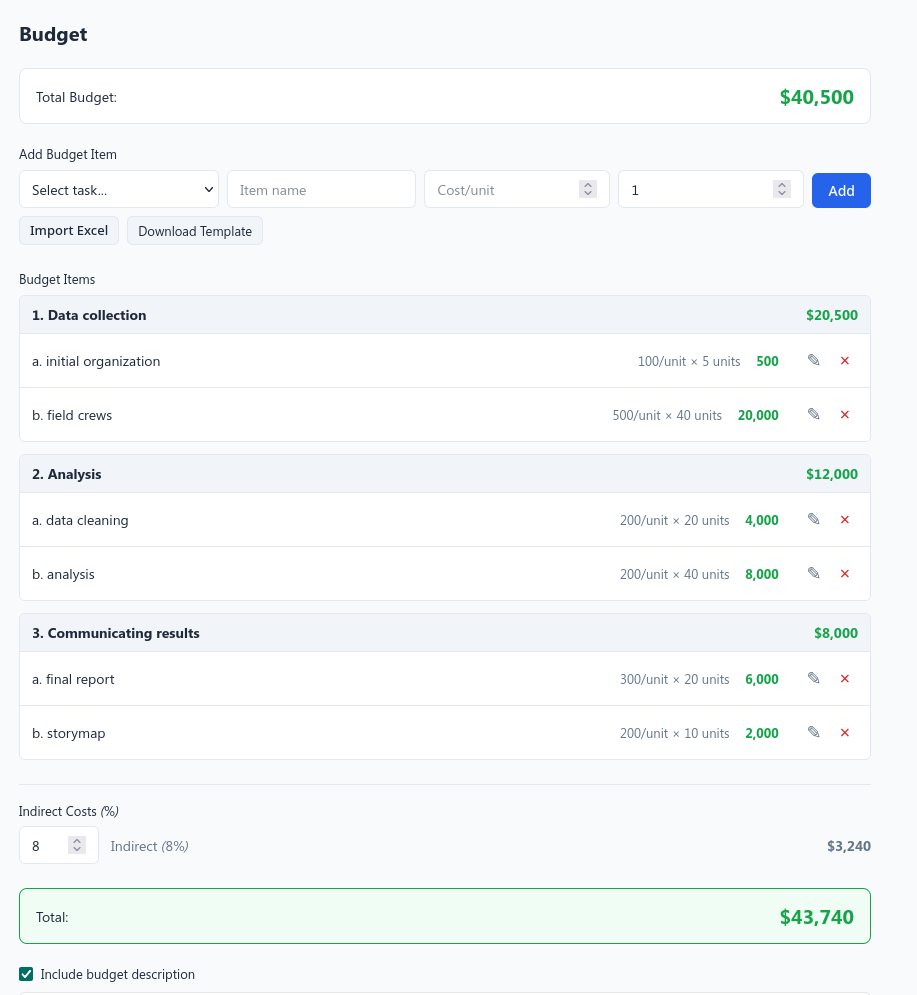
- Switch to the Budget tab.
- For each task, add budget items:
- Select the task from the dropdown.
- Enter item name, cost per unit, and number of units.
- Click Add Item.
- Set Indirect Costs as a percentage (e.g., 15%).
- Optionally check Show budget description and add notes.
Snippets for Budget Justification
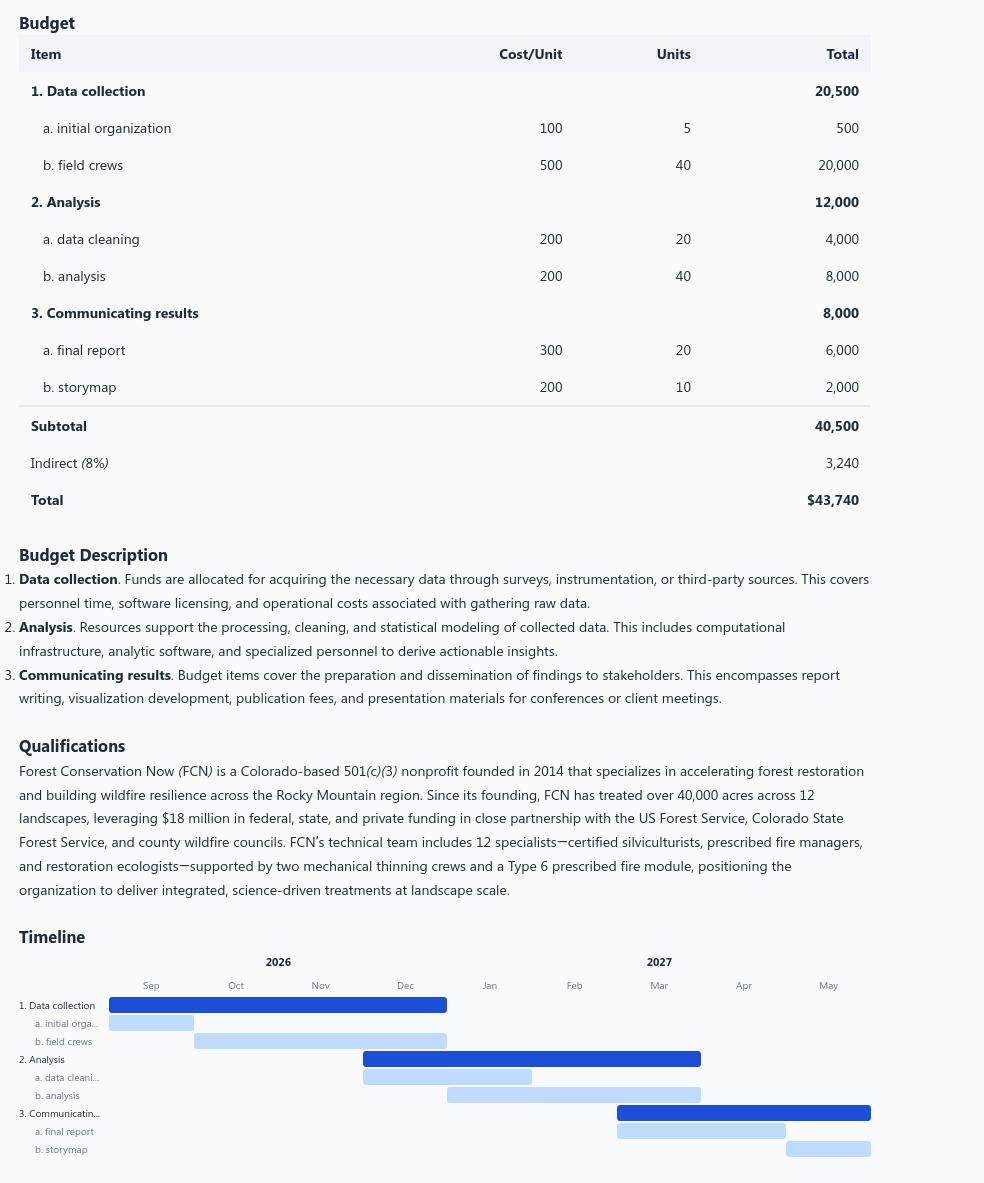
Add snippets for frequently used budget categories to easily add text to the budget description section, then customize with quantities and totals specific to the project.
The total updates in real-time at the top of the page.
4. Qualifications
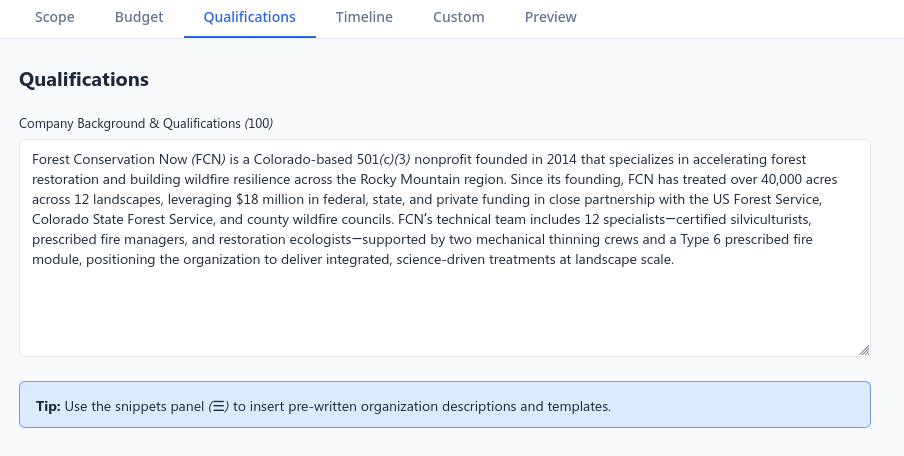
- Switch to the Qualifications tab.
- Write a Markdown description of your organization's background and relevant experience.
- Use the Snippets sidebar (toggle in the top-left) to insert reusable text like "About Us" or "Mission Statement."
5. Timeline
- Switch to the Timeline tab.
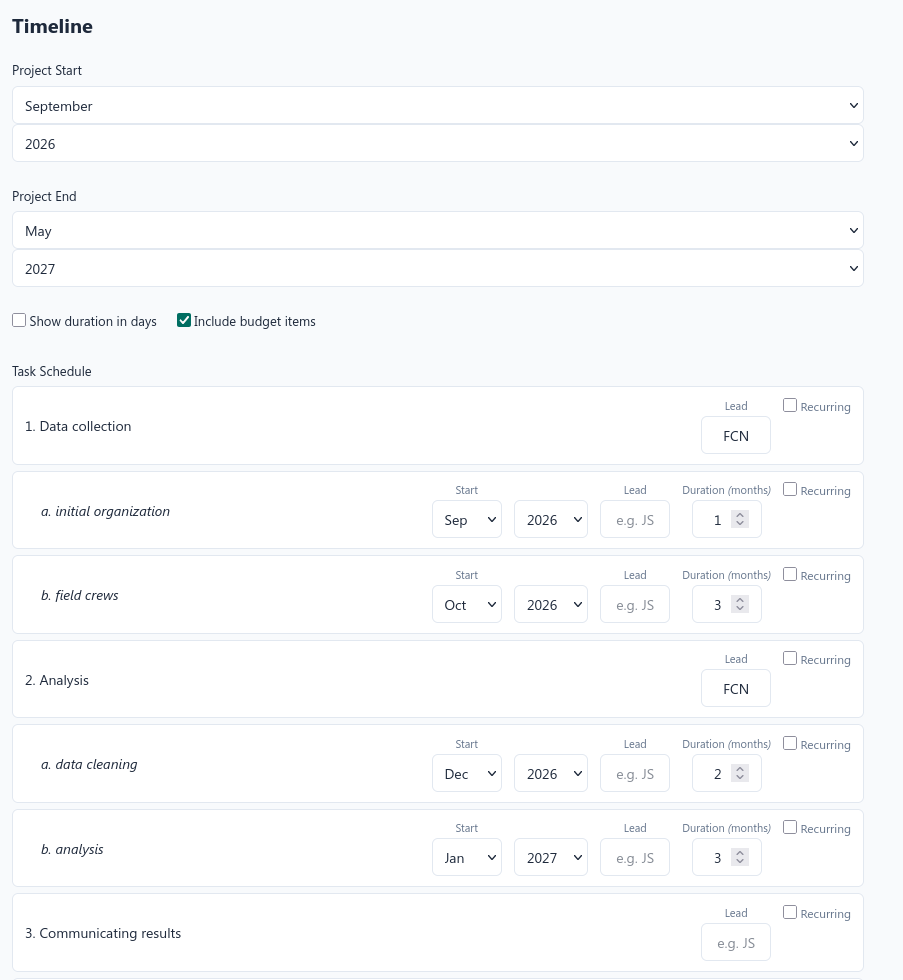
- Set the Start and End month/year for the project.
- For each task, set:
- Lead entity responsible
- Duration in months
- Recurring options if the task repeats (monthly/quarterly/semi-annually/annually)
- Optionally toggle Show duration in days or Include budget items.
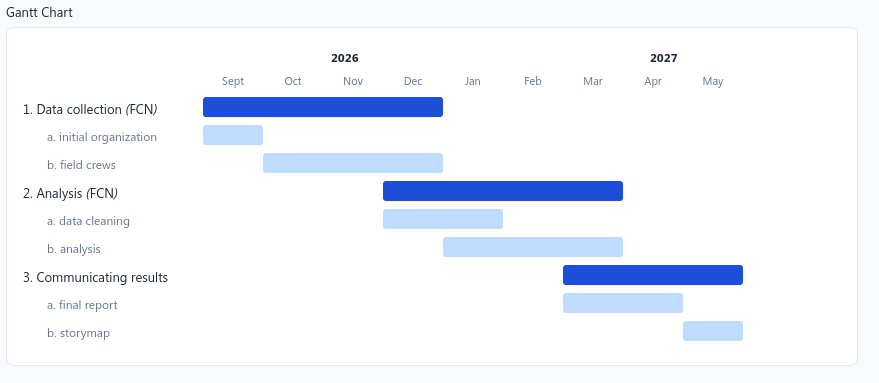
- Click Update Timeline to generate the Gantt chart.
The Gantt chart displays colored bars for each task across the project timeline.
6. Custom Sections
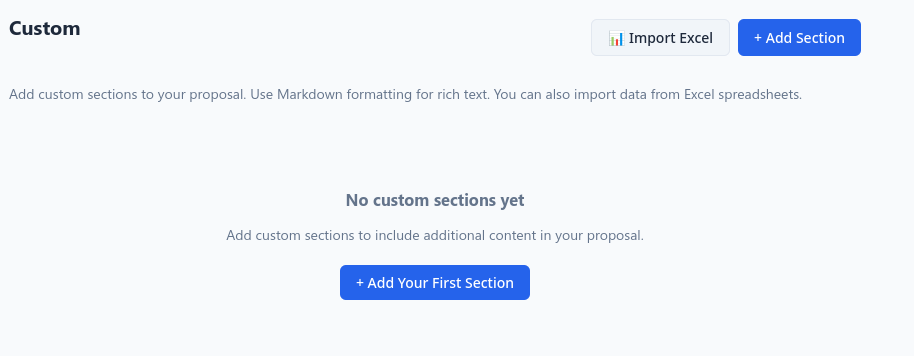
- Switch to the Custom Sections tab.
- Click + Add Section, enter a title, and write Markdown content.
- Use the Import Excel button to convert a spreadsheet into a Markdown table section.
- Use Move Up / Move Down to reorder sections as needed.
Custom sections appear in the preview and export in the order you set.
7. Map
Documents for producing a GeoLibre map can be found at the GeoLibre.app website.
- Create the map in GeoLibre after installation or use the Launch GeoLibre Web in the left side panel of the GeoLibre site.
- Click Project/Share. Before sharing you need to get an API token. Follow the instructions for doing so.
- Once the token is generated, click share and copy the url link to the map.
- On the ma page click the pulldown menu under Context layer and select Shared GeoLibre project, then past the url in the box below. Click on Include map in the proposal then click the blue Save map settings button. Your map will appear on the map screen. If it has any large size layers it may take a few seconds for them to render. The map will appear in the Preview and exports. Make sure to enter a caption for the map under Figure caption (optional).
8. Preview & Export
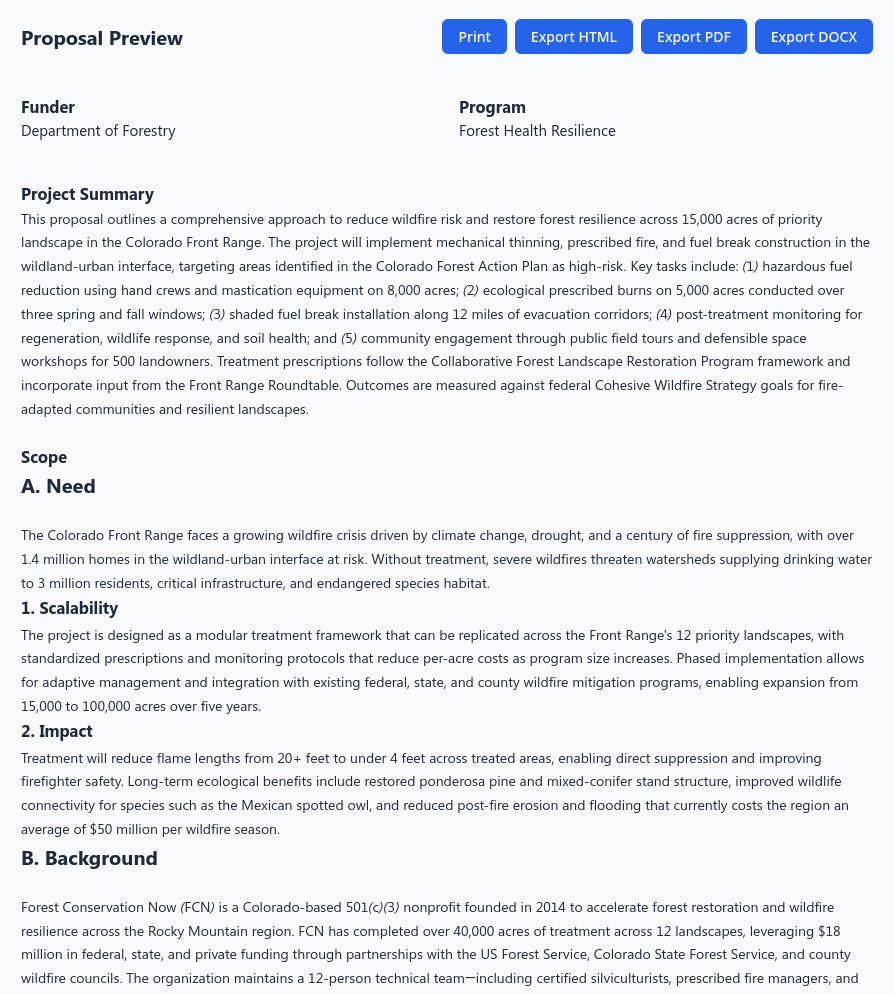
- Switch to the Preview tab to see the full proposal rendered with all sections.
- Click and of the blue download buttons to download a PDF, HTML, or Markdown file of your proposal.
- The PDF includes a cover page, scope, budget table grouped by task, qualifications, custom sections, and a landscape Gantt chart.
9. Snippets
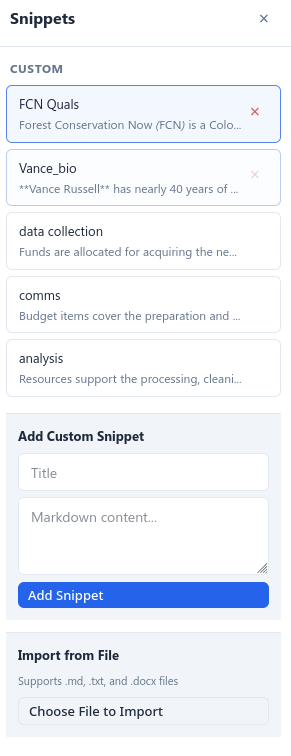
Any text that you frequently use in proposals can be added to the snippets panel: 1. To add a snippet, insert a Title under Add Custom Snippet, then write or paste content into the Markdown content box. Any markdown headers or annotations will appear as rendered. Then click the blue Add Snippet button. 2. To use, click on the snippet you want under CUSTOM to copy to the clipboard, then paste into the proposal section. Alternatively, put the cursor in the proposal window where you want the snippet, and then click the snippet you want inserted.
Next Steps
- Save the proposal as a template for future reuse.
- Once funded, use the Project Tracker to manage progress and spending.